How to configure Stripe payment gateway (Sandbox / Test Mode)
This guide walks you through configuring Stripe Test Mode (sandbox) for Giftflow: creating test API keys, connecting them to Giftflow, and enabling the required webhook events:
payment_intent.succeededpayment_intent.payment_failedcharge.refunded
Prerequisites
- A Stripe account
- Admin access to your WordPress site running Giftflow
- The Stripe webhook URL from Giftflow (usually shown in Giftflow’s Stripe settings screen)
Step 1: Create a Stripe account and switch to Test Mode
- Go to the Stripe Dashboard:
https://dashboard.stripe.com/ - Sign in (or create an account).
- Turn on Test mode (Stripe shows a toggle like “Test mode / Live mode”).
Step 2: Create API keys (Test Mode)
- In Stripe Dashboard, go to Developers → API keys.
- Make sure you are still in Test mode.
- Copy these values:
- Publishable key (starts with
pk_test_...) - Secret key (starts with
sk_test_...)
- Publishable key (starts with
Add the keys to Giftflow
In your WordPress Admin:
- Open Giftflow → Settings → Payments → Stripe (or the Stripe settings screen in your Giftflow plugin).
- Set Environment to Sandbox / Test.
- Paste:
- Stripe Publishable Key =
pk_test_... - Stripe Secret Key =
sk_test_...
- Stripe Publishable Key =
- Save changes.
Step 3: Create a Stripe webhook endpoint
Giftflow relies on Stripe webhooks so the system can update donation statuses even if the donor closes the browser.
- In Stripe Dashboard, go to Developers → Webhooks.
- Make sure you’re still in Test mode.
- Click Add endpoint.
- For Endpoint URL, paste the webhook URL shown in Giftflow’s Stripe settings (example format:
https://your-domain.com/...). - Under Select events, enable:
payment_intent.succeededpayment_intent.payment_failedcharge.refunded
- Click Add endpoint.
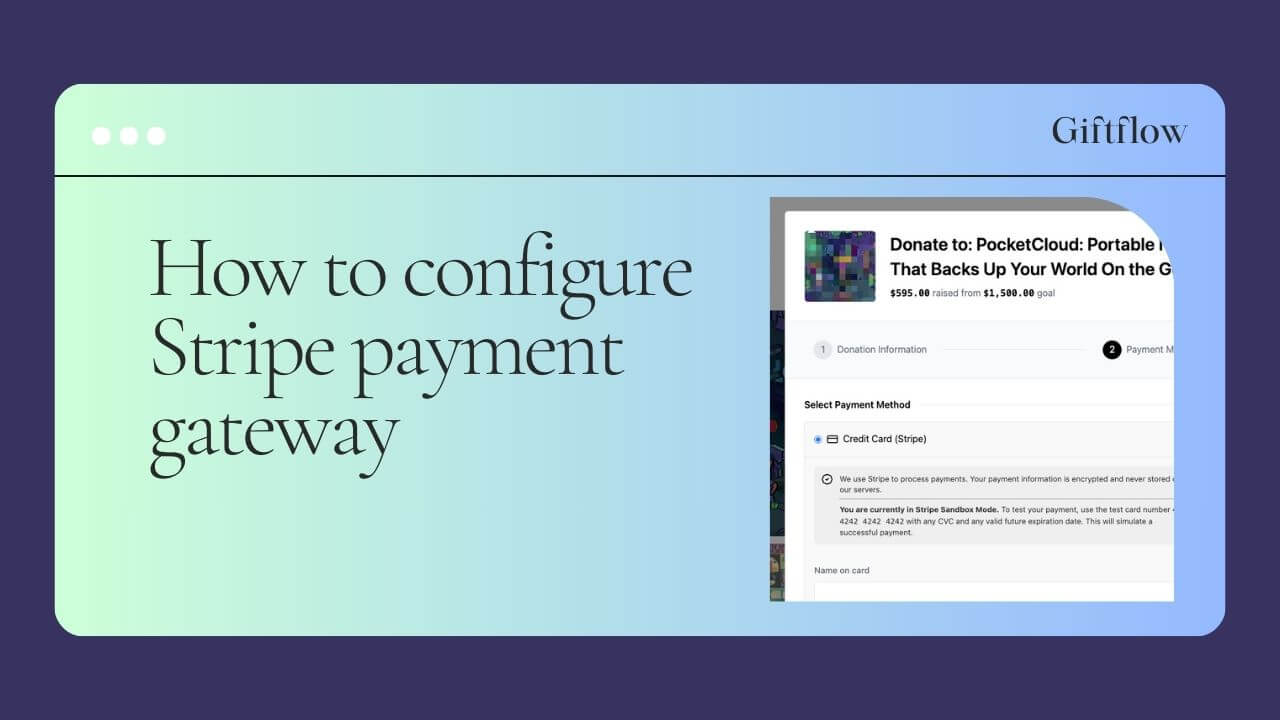
Step 4: Test the sandbox flow
1) Make a test donation
- Open a campaign donation form on your site.
- Choose Stripe and complete a donation using a Stripe test card.
2) Confirm Stripe events were delivered
- In Stripe Dashboard, go to Developers → Webhooks.
- Click your endpoint.
- Open Event deliveries and confirm you see:
payment_intent.succeededfor a successful donationpayment_intent.payment_failedfor a failed donation attempt (optional test)
3) Test refund handling (optional)
- In Stripe Dashboard, find the test payment.
- Create a refund.
- Confirm your webhook endpoint receives
charge.refunded.
What each webhook event does in Giftflow (expected behavior)
payment_intent.succeeded: mark the Donation as Paid (and trigger confirmation emails if configured).payment_intent.payment_failed: mark the Donation as Failed (and optionally notify admin).charge.refunded: mark the Donation as Refunded (or update status/metadata to reflect the refund).
Common issues
- No webhook deliveries: double-check the endpoint URL, and ensure you created the webhook in Test mode (not Live).
- Signature verification failed: confirm the
whsec_...secret matches the endpoint you created. - Donation marked paid in Stripe but not in Giftflow: verify the webhook is enabled and that Giftflow’s endpoint is reachable from the public internet.