How to start your first campaign
If this is your first time using Giftflow, keep it simple: set up one payment method, create one campaign, publish, and test a donation.
Before you start: set up payments first
Campaigns need a working payment method so donors can complete a donation.
- Configure at least one payment option:
- Stripe (recommended for cards)
- PayPal (trusted and familiar)
- Local bank (manual transfer / regional option)
- Save settings.
- Do a quick sandbox/test payment to confirm it works.
Tip: You can add more payment methods later—start with just one to avoid getting stuck in setup.
Step 1: Create your first Campaign post
In WordPress Admin:
- Go to Campaigns → Add New.
- Add a clear Campaign title (example: “Support our 2026 Scholarship Fund”).
- Fill in the key fields below (you don’t need perfect data to launch).
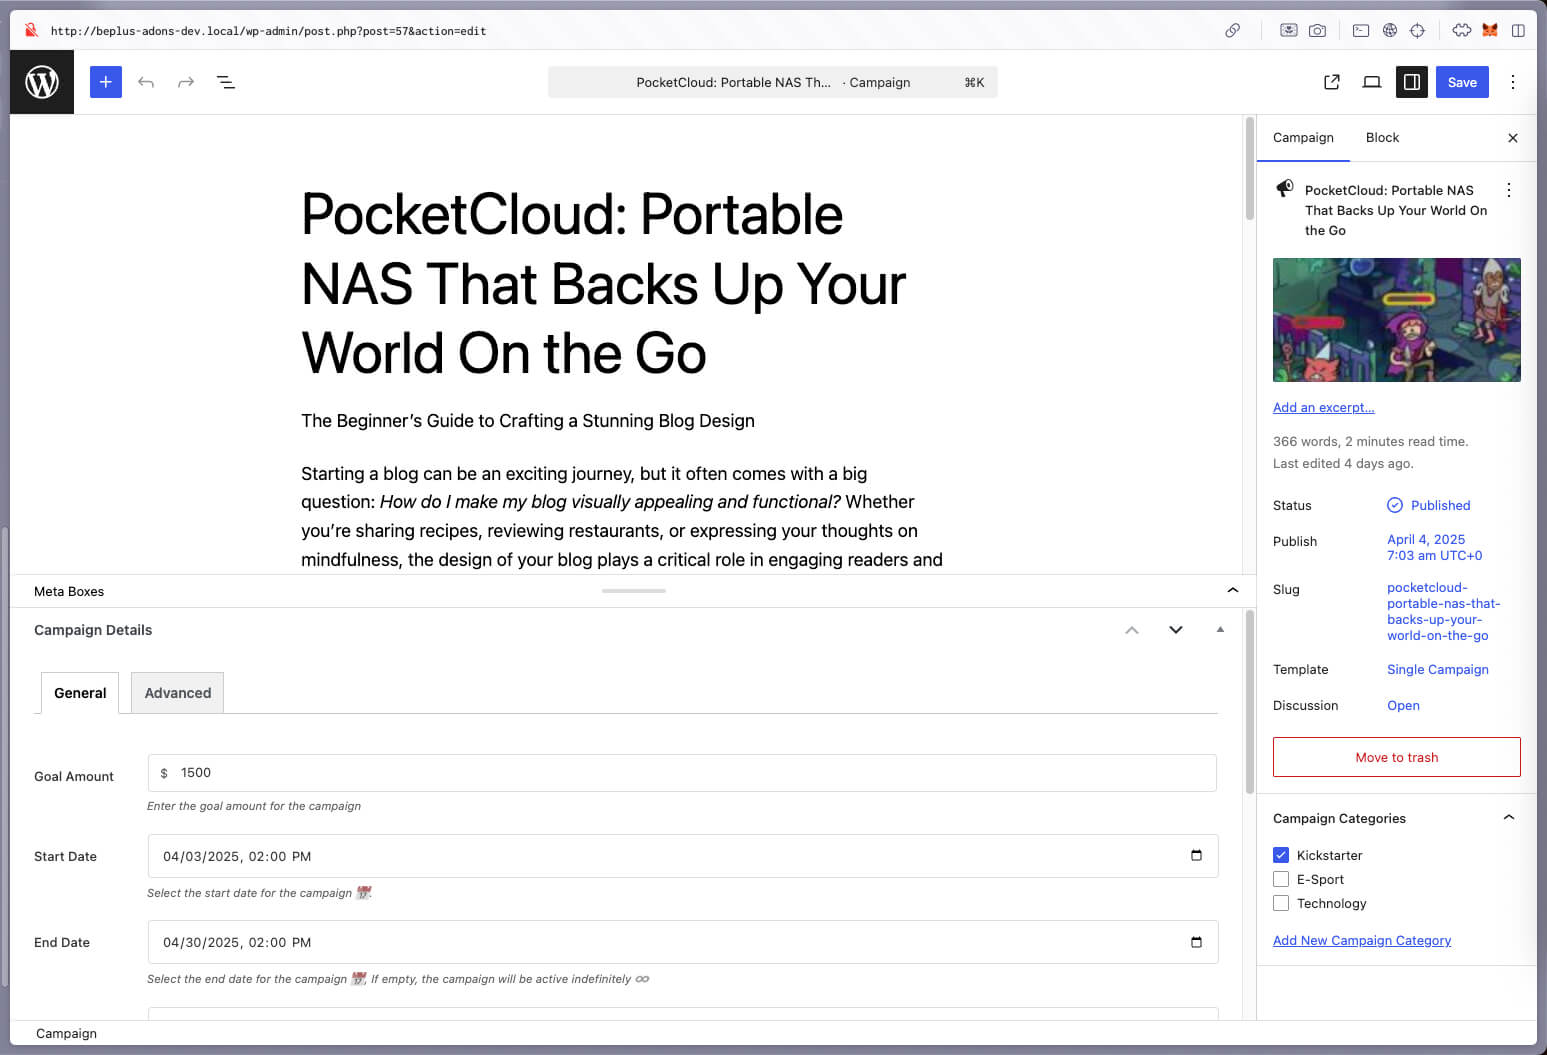
Campaign fields (what to fill in)
- Goal Amount: your fundraising target (example: 10,000).
- Start Date: when donations open.
- End Date: when the campaign ends.
- Status: choose one:
active(accepting donations now)pending(not visible / not ready yet)complete(goal reached; usually stop taking donations)closed(ended; stop taking donations)
- One-Time (checkbox): enable if donors can donate once.
- Recurring (checkbox): enable only if you’re ready to support recurring donations.
- Preset Donation Amounts: add a small set like
10, 25, 50, 100. - Location: optional; helpful for local/community campaigns.
- Image gallery: add 1–3 strong images (more can wait).
Step 2: Keep it minimal (recommended defaults)
To avoid overwhelming donors (and yourself), start with:
- Status:
active - Donation types: One-Time ON, Recurring OFF
- Preset amounts: 4 options (example:
10, 25, 50, 100) - Images: 1 main image (gallery optional)
You can always expand later once the first campaign is working.
Step 3: Publish and test the donation form
- Publish the campaign.
- Open the campaign page as a visitor.
- Make a test donation:
- Use Stripe Test Mode / PayPal Sandbox / your bank test process.
- Confirm:
- A Donation record is created
- A Donor record is created/updated
- Emails (admin + donor) are sent (if enabled)
Quick checklist
- Payment method configured (Stripe/PayPal/Local bank)
- Campaign created with goal, dates, status
- Preset donation amounts added (4 is enough)
- Published and tested a donation end-to-end
Need help with payment setup?
See these guides for step-by-step configuration: